Websites have become an integral part of business. Everyone knows the importance of websites and how crucial they are for consolidating your position in the online marketplace. That being said, it’s not everybody’s cup of tea to simply keep a website up and running and the problem aggravates when you have to choose one of the CMS available. Your struggle continues when you have no prior knowledge of programming language or belong to the non-technical sphere. But that should not stop you from putting up a business.
With all those scenarios building up and defining all those limitations, you either hire freelancers or a web development company or convert your existing website i.e. PSD to WordPress.
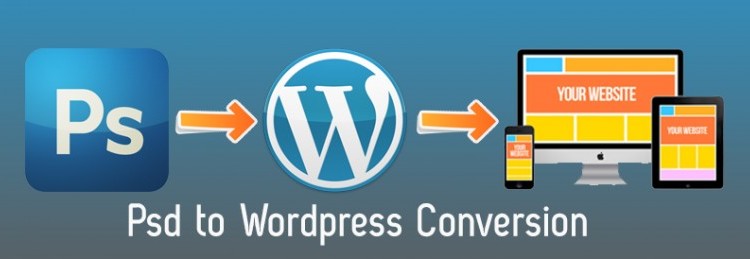
Did someone say WordPress ?
Well, you must be thinking why WordPress? WordPress is free and open source platform plus it has thousands of plugins and even a layman can get familiar with it. Not going into much detail, it is indeed, the best CMS platform available as of now. Google it and you’ll know and you’d say “Why Not WordPress.”
Creating PSD files is often a challenge as one needs to code and it requires to have deep knowledge of HTML, PHP, CSS and JavaScript. But creating a custom website in WordPress is not that easy but with some time it can be mastered. Therefore, in the following part, we’ve unfolded some efficient steps to convert PSD To WordPress.
PSD To WordPress Conversion :- Is it that easy ?
Converting the Photoshop files of PSD to WordPress is a strenuous task in web development services. You can design a website using Photoshop and then convert all the PSD files to WordPress to create your own personalized WordPress website but there are certain things that you should keep in mind.
As there is a myriad of automated PSD to WordPress conversion tools available meaning that, you don’t need to have the understanding of the mentioned programming languages. Just convert all the PSD files and add respective WordPress plugins and tags and voila. Still, it looks simple but there is a systematic way of converting PSD to WordPress.
Let’s get started!!!!!!
STEP 1: – Slicing PSD
Before converting PSD to WordPress, you need to slice all the PSD files i.e. to cut and divide an image file into multiple design files. This step is crucial because a website is a mixture of multiple images in which each component has its own functionality.
You need to break all the files into pieces because the single image will be big in size and will take more time in loading. Moreover, you have to combine different behaviors with different segments of the image, therefore, slicing is a must.
You can use Adobe Photoshop for layering to slicing the PSD and save the resulting segments as separate image files. A point to be noted here that while slicing, you should be precise. You cannot make mistakes as one single pixel may make two pieces unfit for joining.
STEP 2: – Creating index.html and style.css
Now you have to create index.html and style.css and for that code the sliced images into HTML or XHTML format and style using it CSS. The main objective is to not hinder the functionality of web components but to enhance it. Just like we have folders in our desktops for adding files, we need the same web server by adding website files including HTML tags, scripts, pages, CSS etc. Therefore, you should have an index.html page in all the directories. CSS defines how HTML elements get displayed. It controls the layout of multiple web pages all at once.
STEP 3: – Modifying index.html based on WordPress theme
As we are converting PSD to WordPress, therefore, we need to modify index.html files according to the WordPress theme so that we could use the functionality of WordPress plugins and tools.
Your WordPress site requires proper heading, titles, footer file, sidebar file etc. But we have all the codes in one HTML file, therefore, we need to code index.html according to WordPress files. A WordPress theme consists of archive.php, Footer.php, Header.php, Index.php, Sidebar.php, Search.php, 404.php, Comments.php etc. And you need to break index.html into index.php, header.php and other relevant .php files.
STEP 4: – Adding WordPress Tags
WordPress has inbuilt features and on-the-go plugins that can be integrated for enhancing the functionality of the WordPress. You don’t have to write codes just simply use the inbuilt functionality and get started.
For a complete list of WordPress refer to the following links:
– WordPress/Template Tags: – The page contains a full list of all the WordPress tags. Every tag is explained in detail in a dedicated page for that tag.
– WordPress/Function Reference: – This page is a reference guide to all the functions.
Now you have a custom WordPress theme and have inserted all the PHP tags to create the desired functionality, you can activate it through the WordPress dashboard.
STEP 5: – Embedding Functionality
There you are.
You have the WordPress site and you can add other functionality or even modify them. You just have to install plugins or configure the existing ones through WordPress dashboard. The final step in developing your new WordPress theme is adding the functionality. Maybe you want a new page counter, more secure contact form or some social media functions or widgets. You don’t have to even write a single line of code, for example, let’s say you want a new slider or a new style of a drop down menu, then you don’t have to go through the process of learning programming languages and then embed it.