PSD to HTML Conversion Features

Websites serve as the perfect business drivers both for small and mid-sized firms. In order to transform the business acumen in every aspect, businesses need to have a website that is interactive, responsive and stays in prominence in this competitive scenario. PSD to HTML conversion is probably one of the finest ways to create such sites that function properly both on the desktop as well as mobile, thereby resulting in an expanded global reach. Other than just designing a responsive site, PSD to HTML conversion brings along added advantages like the convenience and quick site navigation to attract a large number of audiences.

Some of the most useful features you get on converting PSD to HTML are:

Quick loading speed:

By eliminating the need for unnecessary coding, PSD to HTML conversion allows loading up your website with increased visibility, functionality, usability and accessibility. The lesser the use of codes, the enhanced is the presentation pattern and loading speed.

Increased web traffic:

The process of PSD to HTML conversion allows your website to attain the right visibility on search engines. This, in turn, affects your ranking and consequently improves traffic in all proportions.

Semantic coding:

The semantic coding techniques implemented during the conversion process allow a site to be search engine friendly. The use of semantic and search engine friendly codes allow the site to get easily crawled, taking the site to higher rankings.

Multiple browser support:

Another advantage of incorporating PSD to HTML conversion is making the content of website accessible on different browsers like Chrome, Firefox and Opera. This conversion supports accessibility on multiple browsers like Chrome, Firefox, Mozilla, IE and so on. In short, it makes the site not only user-friendly but also readable.

On-page SEO flexibility:

SEO plays a crucial role when it comes to improving search engine ranking on the web. The conversion process makes it possible to flexibly manipulate your web pages.

Inexpensive and Time-saving:

PSD to HTML conversion is a tedious process but is less time-consuming. When you hire a reliable conversion service provider, their expert team of professionals provides the best services in a short span of time. They will be able to design a site with effective features and functionality possible.

Increased user experience:

Websites which are attractive and offer a remarkable user experience are the ones which capture the most of the audience attention. Therefore, it is important to design a unique, interactive and user-friendly website that enhances traffic and increases sale conversion.

Conclusion:

The conversion process, i.e PSD to HTML improves the efficiency of a website by including top-notch features that provide immense flexibility and control to the presentation of a website. However, it is always a better idea to hire a professional firm for reliable results. Only PSD 2 HTML Offer PSD To Bootstrap Conversion Service in best Rates

Get better PSD Design for easy PSD To HTML Conversion

If you have a PSD file that you need converted to HTML or WordPress, how you create the file will heavily determine the speed and accuracy of conversion into a working website. As experts in PSD to HTML conversion service, we have encountered thousands of PSD files, and a good number took too long in conversion because designers of the layouts did not follow some basic design and layout principles. This in turn means that such clients will be charged more according to the production time. However, you can read these tips to learn how to hand in the best file for conversion.

1.Avoid merging layers

It is common practice for designers to merge layers in order to maintain smaller file sizes. Usually this presents no problem when designing for print, but for PSD conversion, it is important to provide all adjustment, textual and/or graphics layers intact. These layers usually have vital information needed for accurate development. The font layer, for instance, informs about font sizes, colors, families and lines heights as well as letter spacing and text transformation.

2.Submit well-organized files

When your PSD is well organized, named and structured, development becomes easier and even more accurate. A well-organized PSD file not only serves the interests of the web developer; it also reduces the designer’s and coder’s production time, improving cost efficiency. Remember that every minute spent trying to locate the correct text layer, graphics layer or other section increases production time and ultimately your cost.

3.Practice consistent design

It is essential to maintain consistency of design elements across website layouts in multiple appearances. Universally employed elements such as headers, footers, buttons and rounded boxes should have a consistent look/feel for all pages of the layout. This means having the same heights, padding, border radius, etc. Remember that having different properties will necessitate individual HTML and CSS coding for each element and hence increase development time.

4.Put elements on grid

The design grid is a virtual set of guidelines applied to decide the placement and shape of items/elements and hence the overall appearance of the website. Using the grid will help you to position your website elements in a well-balanced and proportional manner to enhance the aesthetics of the site. Placing elements off-grid creates additional work during development. Ensure that everything is aligned within the grid, whether explicit or implicit.

5.Create rollover states

During design preparation, consider link and call-to-action elements and how they will function: images, buttons, boxes, etc. Standard practice is to add hover states in these elements so that they can be distinguished from other action states. Many times, if you avoid doing this at the beginning, you’ll find that you have to define them much later once you start using live templates, and this will increase development time. Planning for the hover/rollover state allows for it to be coded right at the beginning.

6.Ensure submitted material is consistent

Any hands-off material that you submit, from Jpeg reviews and PSD files to specification write-ups and fonts as necessary, should have the final versions of your work, ready for development. Any inconsistency between these will cause confusion with your conversion team and can lead to unnecessary work, including unnecessary double work, communication delays and increased production time as a result. Before submission, make a last run through assets to ensure you’re handing in the correct font families, design elements, colors and font sizes among other properties. It helps to save files with the different names and rename the final file so as to not get confused with other drafts created in the design process.

7.Account for rendering differences

This applies especially when using modern fonts. Different operating systems and browsers render fonts differently. This is because the way fonts are displayed in Photoshop may differ from browser displays because of font tracking and anti-aliasing capabilities or letter spacing property in CSS. You can first check how your font looks like in different browsers before settling on it for your live website. Do not blindly trust the sub pixel values for your letter spacing.

8.Avoid blending modes

Blending modes are one of the CSS creations that are not possible to create using CSS. In Photoshop, they are popularly used to produce aesthetically pleasing effects and to reduce image processing time. However, their eventual effect is to produce unwanted results once PSD files are converted to CSS and HTML codes. If you must, you can use them for the previews, but remember to restore normal blending mode before submitting the file for development.

9.Consider content flexibility

Depending on the design, you may have a fixed volume of text allowed for a particular area (like a graphic element or image) such that one cannot add any more text to that area. This may work sometimes, but providing for content flexibility will make it easier to add text once the website goes live and it is found that more text is necessary for functional or aesthetic purposes. Therefore, consider how your design will be affected if it becomes necessary to either add or remove any content. If you don’t know what the final content is, such as when using placeholder content (“lorem ipsum”), content flexibility is a must.

10.Build for common resolutions

What is considered common browser resolution has been the subject of many discussions, especially since the advent of responsive web design that has redefined our understanding of design versus screen resolutions. Nonetheless, the most frequently-applied screen resolution is 1366×768 pixels. If you’re not building for responsive web development, ensure that you have accounted for this resolution. In addition, factor in as many other common resolutions. This means designing a layout that doesn’t exceed 1300 pixels so that visitors can access content without the oh-so-annoying horizontal scroll.

PSD To Responsive HTML Tutorial

Here We start Basic Step for PSD to HTML Conversion Tutorial

Welcome to our Basic Web Design tutorial where you will learn how to completely code a website from scratch. In this short course we will walk you through the very basic steps on what to do and what to learn before, and during, building a basic website. We Make deff. Devision for psd to bootstrap html conversion tutorial are as under.

  1. Download PSD Design Template
  2. PSD Analyze
  3. Get Bootstrap
  4. Download Font Awesome
  5. Start with Header Part.
  6. Start with Navigation Part.
  7. Start with Welcome Part.
  8. Start with Products Part.
  9. Start with Bottom Part Products List.
  10. Start with Footer Part.

————————————————————————————————————————–

Download PSD Design Template

Here We attach some example for downloading Web page PSD Template free Either Paid.

Free PSD Design Template

  1. Freepik
  2. Free Bies Bug
  3. Os Template

Premium PSD Design Template

  1. Theme Forest
  2. Template Monster

For Example We take design from Our Client Website.

Company Name = Harsiddh Engineering Co.

URL = http://www.ampoulefillingmachine.net

new-chaitali
————————————————————————————————————————–

PSD Analyze

One of the most important website page creation skills you will learn in Photoshop is how LAYERS constitute the entire structure of website. It is valuable to see an image in relation to the layers used to construct it.

A technical analysis is the examination of an PSD file to actually see how the design  was constructed using layers. In order to do this, you need to have the actual .psd file for the image. These .psd files are located below and can be downloaded to your Desktop for this activity.

TECHNICAL ANALYSIS

  1. Make sure Photoshop is launched.
  2. Inside Photoshop, go to the TOP MENU BAR – OPEN. A window will open.
  3. Use this window to locate the proper .psd file on your Desktop. Click OPEN.
  4. The image file will open. Make sure the Layers palette is showing.
  5. Look at the document window (the image) and then look at the Layers palette. See the relationship between the two.
  6. Go to the Layers palette and start hiding and showing layers. See the effect on the main image.
  7. Click on the MOVE tool. Now play with moving Layers around.
  8. Play. Get a feel of how the image was put together using Layers.

Untitled-3
————————————————————————————————————————–

Get Bootstrap

Bootstrap is the most popular HTML, CSS, and JS framework for developing responsive, mobile first projects on the web.

Download Bootstrap

Start with this basic HTML template, or modify these examples. We hope you’ll customize our templates and examples, adapting them to suit your needs.

<!DOCTYPE html>
<html lang="en">
<head>
<meta charset="utf-8">
<meta http-equiv="X-UA-Compatible" content="IE=edge">
<meta name="viewport" content="width=device-width, initial-scale=1">
<!-- The above 3 meta tags *must* come first in the head; any other head content must come *after* these tags -->
<title>Bootstrap 101 Template</title>
<!-- Bootstrap -->
<link href="css/bootstrap.min.css" rel="stylesheet">
<!-- HTML5 shim and Respond.js for IE8 support of HTML5 elements and media queries -->
<!-- WARNING: Respond.js doesn't work if you view the page via file:// -->
<!--[if lt IE 9]>
<script src="https://oss.maxcdn.com/html5shiv/3.7.3/html5shiv.min.js"></script>
<script src="https://oss.maxcdn.com/respond/1.4.2/respond.min.js"></script>
<![endif]-->
</head>
<body>
<h1>Hello, world!</h1>
<!-- jQuery (necessary for Bootstrap's JavaScript plugins) -->
<script src="https://ajax.googleapis.com/ajax/libs/jquery/1.12.4/jquery.min.js"></script>
<!-- Include all compiled plugins (below), or include individual files as needed -->
<script src="js/bootstrap.min.js"></script>
</body>

You Can Check components

Over a dozen reusable components built to provide iconography, dropdowns, input groups, navigation, alerts, and much more.

get
————————————————————————————————————————–

Download Font Awesome

Font Awesome :- The iconic font and CSS toolkit
Font Awesome gives you scalable vector icons that can instantly be customized — size, color, drop shadow, and anything that can be done with the power of CSS.

Download & Customize Easy Font Awesome

Want to manage and host Font Awesome assets yourself? You can download, customize, and use the icons and default styling manually. Both CSS and CSS Preprocessor (Sass and Less) formats are included.

Using CSS

  1. Copy the entire font-awesome directory into your project.
  2. In the <head> of your html, reference the location to your font-awesome.min.css.
  3. <link rel=”stylesheet” href=”path/to/font-awesome/css/font-awesome.min.css”>
  4. Check out the examples to start using Font Awesome!

fone-awesome
————————————————————————————————————————–

Start with Header Part.

We start with header background & contact detail header

bg

Here’s HTML

<body class="bg-banner">

<header>
<div class="header">
<div class="container">
<div class="row">
<div class="col-md-2 col-sm-4 col-xs-12">
<div class="top-left"> <i class="fa fa-phone"></i><span>+91-9825033692</span> </div>
</div>
<div class="col-md-4 col-sm-4 col-xs-12">
<div class="top-left"><i class="fa fa-envelope"></i><span><a href="mailto:info@ampoulefillinmachine.net">info@ampoulefillinmachine.net</a></span></div>
</div>
<div class="col-md-6 col-sm-4 col-xs-12">
<div class="top-right"><a href="https://www.facebook.com/ampoulefillingmachine" target="_blank"><i class="fa fa-facebook"></i></a>
<a href=" https://twitter.com/ampoule_filling" target="_blank"><i class="fa fa-twitter"></i></a>
<a href="https://www.pinterest.com/ampoulefilling " target="_blank"><i class="fa fa-pinterest"></i></a>
<a href="https://www.youtube.com/channel/UCUvQWEsPH2u6-EY45SaHyvw" target="_blank"><i class="fa fa-youtube"></i></a></div>
</div>
</div>
</div>
</div>
</header>

CSS

.bg-banner{ background:url(../images/bg1.jpg) no-repeat; z-index:0; background-size:100% 26%;}
.bg-bannerinner{ background:url(../images/inner-banner.jpg) no-repeat; z-index:0; width:100%; background-size: contain;}
.header  {width:100%;}
.header .top-left {padding:10px 0 0 10px; color:#666666; font-size:14px;}
.header .top-left span {padding:0 10px 0 10px;}
.header .top-left span a{ text-decoration:none; color:#666666;}
.header .top-header span a {color:#666666; text-decoration:none;}
.header .top-header span a:hover {color:#bebeba; text-decoration:none;}
.header .top-right {color:#FFFFFF; font-size:14px; float:right;}
.header .top-right a {height:30px; width:30px; margin:6px 1px 6px 1px; line-height:28px; text-align:center; vertical-align:middle; display:inline-block; color:#FFFFFF;}
.header .top-right a:hover {color:#eae8e8;}
.fa-phone::before {color:#d7d8d2;}
.fa-envelope::before {color:#d7d8d2;}

Responsive Media Query

@media(max-width:320px) {
.header  {width:100%; height:40%; text-align:center;}
.menu {width:100%; height:40%; background-color:#f9fafa;  box-shadow:1px 6px 6px #c9c9c9;}
.navbar-default {  background-color: #4377a6;
border-color: #0000;}
.bg-banner{ background:url(../images/bg1.jpg) no-repeat; z-index:0; background-size:100% 8%;}
}

@media(min-width:320px) and (max-width:768px) {
.header  {width:100%; height:40%; text-align:center;}
header .top-right a {height:30px; width:30px; margin:6px 1px 6px 1px; line-height:28px; text-align:center; vertical-align:middle; display:inline-block; color:#666666;}
}

————————————————————————————————————————–

Start with Navigation Part.

We start with Navigation

header

Here’s HTML

<div class="menu">

<div class="container">
<div class="row">
<div class="col-md-4 col-sm-6 col-xs-12">
<div class="logo"><a href="index.html"> <img class="img-responsive" src="images/logo.png" alt="Ampoule Filling Machine"></a> </div>
</div>
<div class="col-md-8 col-sm-6 col-xs-12">
<nav class="navbar">
<div class="container-fluid">
<!-- Brand and toggle get grouped for better mobile display -->
<div class="navbar-header navbar-default">
<button type="button" class="navbar-toggle collapsed" data-toggle="collapse" data-target="#bs-example-navbar-collapse-1" aria-expanded="false"> <span class="sr-only">Toggle navigation</span> <span class="icon-bar"></span> <span class="icon-bar"></span> <span class="icon-bar"></span> </button>
</div>
<!-- Collect the nav links, forms, and other content for toggling -->
<div class="collapse navbar-collapse" id="bs-example-navbar-collapse-1">
<ul class="nav navbar-nav navbar-right">
<li class="active"><a href="index.html">HOME<span class="sr-only">(current)</span></a></li>
<li><a href="about-us.html">ABOUT US</a></li>
<li class="dropdown"> <a href="products.html" class="dropdown-toggle" data-toggle="dropdown" role="button" aria-haspopup="true" aria-expanded="false">PRODUCTS<span class="caret"></span></a>
<ul class="dropdown-menu">
<li><a href="semi-automatic-multijet-ampoule-washing-machine.html">Semi Automatic Multijet Ampoule Washing Machine</a></li>
<li role="separator" class="divider"></li>
<li><a href="automatic-rotary-ampoule-washing-machine.html">Automatic Rotary Ampoule Washing Machine</a></li>
<li role="separator" class="divider"></li>
<li><a href="single-head-amoule-filling-sealing-machine.html">Single Head Ampoule Filling & Sealing Machine</a></li>
<li role="separator" class="divider"></li>
<li><a href="single-head-closed-ampoule-filling-and-sealing-machine.html">Single Head Closed Ampoule Filling And Sealing Machine</a></li>
<li role="separator" class="divider"></li>
<li><a href="single-head-onion-skin-tube-filling-and-sealing-machine.html">Single Head Onion Skin Tube Filling and Sealing Machine</a></li>
<li role="separator" class="divider"></li>
<li><a href="two-head-ampoule-filling-and-sealing-machine.html">Two Head Ampoule Filling And Sealing Machine</a></li>
<li role="separator" class="divider"></li>
<li><a href="four-head-ampoule-filling-sealing-machine.html">Four Head Ampoule Filling & Sealing Machine</a></li>
<li role="separator" class="divider"></li>
<li><a href="four-head-closed-ampoule-filling-and-sealing-machine.html">Four Head Closed Ampoule Filling and Sealing Machine</a></li>
<li role="separator" class="divider"></li>
<li><a href="four-head-onion-skin-tube-filling-and-sealing-machine.html">Four Head Onion Skin Tube Filling and Sealing Machine</a></li>
<li role="separator" class="divider"></li>
<li><a href="six-head-ampoule-filling-and-sealing-machine.html">Six Head Ampoule Filling And Sealing Machine</a></li>
<li role="separator" class="divider"></li>
<li><a href="six-head-closed-ampoule-filling-and-sealing-machine.html">Six Head Closed Ampoule Filling and Sealing Machine</a></li>
<li role="separator" class="divider"></li>
<li><a href="eight-head-ampoule-filling-&-sealing-machine.html">Eight Head Ampoule Filling & Sealing Machine</a></li>
<li role="separator" class="divider"></li>
<li><a href="ampoule-visual-inspection-machine.html">Automatic Ampoule Visual Inspection Machine</a></li>
<li role="separator" class="divider"></li>
<li><a href="horizontal-ampoule-sticker-labeling-machine.html">Horizontal Ampoule Sticker Labeling Machine</a></li>
</ul>
</li>
<li><a href="services.html">SERVICES</a></li>
<li><a href="inquiry.php">INQUIRY</a></li>
<li><a href="contact-us.html">CONTACT US</a></li>
</ul>
</div>
<!-- /.navbar-collapse -->
</div>
<!-- /.container-fluid -->
</nav>
</div>
</div>
</div>
</div>

CSS

.menu {width:100%; height:80px; background-color:#f9fafa; box-shadow:2px 3px 3px #c9c9c9; position:relative; z-index:59;}

.menu .logo {margin:10px;}
.nav {padding-left:32px;}
.nav > li {padding-left:8px; font-size:15px; font-weight:400; margin:16px 0px 0px 20px;}
.nav > li > a:hover, .nav > li > a:focus { background:none;}
.nav .open > a, .nav .open > a:focus, .nav .open > a:hover {color:#000000;}
.nav .open > a, .nav .open > a:hover, .nav .open > a:focus {background-color:#f9fafa; border-color: #337ab7;}
.nav > li > a {color:#666869;}
.nav > li > a:focus, .nav > li > a:hover {color:#185e9f;}
.dropdown-menu {background-color:#316a4a; }
.dropdown-menu > li > a {color:#FFFFFF;}
.dropdown-menu > li > a:focus, .dropdown-menu > li > a:hover {background-color:#316a4a; color:#000000}
.navbar-right .dropdown-menu {right:auto;}
.nav > li > a {display: block; padding: 10px 0px 0px 8px;}

Responsive Media Query

@media(max-width:320px) {

.menu {width:100%; height:40%; background-color:#f9fafa;  box-shadow:1px 6px 6px #c9c9c9;}
.navbar-default { background-color: #4377a6;  border-color: #0000; }
.bg-banner{ background:url(../images/bg1.jpg) no-repeat; z-index:0; background-size:100% 8%;}
.navbar-nav > li > .dropdown-menu {width:100%;}
}

@media(min-width:320px) and (max-width:768px) {
.navbar-nav {background-color: #4377a6;  margin: 7.5px -15px; }
.nav > li > a {color: #000; }
.navbar-nav .open .dropdown-menu {background-color: #316a4a; border: 0 none; box-shadow: none; float: none; margin-top: 0; position: static; width:100%;}
.nav {padding-left: 0;}
}

————————————————————————————————————————–

Start with Welcome Part.

We start coding for company welcome part here

welcome

Here’s HTML

<section>

<div class="welcome">
<div class="container">
<div class="row">
<div class="col-md-5 col-sm-4 col-xs-12">
<div class="productimage"><img class="img-responsive" src="images/products1.jpg" alt="Products 1"></div>
</div>
<div class="col-md-7 col-sm-6 col-xs-12">
<h2>Welcome to Harsiddh Engineering Co.</h2>
<p>An ISO 9001:2008 Certified Company</p>
<p>Harsiddh Engineering Co. manufacturer of Pharmaceutical Machinery and Sparessuch as Eight Head Ampoule Filling Sealing Machine,Six Head Ampoule Filling & Sealing Machine, Four Head Ampoule Filling & Sealing Machine, Two Head Ampoule Filling &Sealing Machine, Single Head Ampoule Filling & Sealing Machine,Ampoule Washing Machine etc.Our focus never deters from the aim to offer total satisfaction toour clients.</p>
<div class="line"></div>
</div>
</div>
</div>
</div>
</section>

CSS

.welcome {width:100%; background-color:#f7f7f7;}

.welcome p {text-align:justify; color:#535252; font-size:15px; line-height:25px;}
.welcome h2 {margin-top:20px; padding-top:15px;}
.welcome .productimage {margin:20px 0px 30px 0px; padding:20px 0px 20px 0px;}
.welcome .line {width:43%; background-color:#000000; height:2px; margin-bottom:20px; margin-top:30px;}

————————————————————————————————————————–

Start with Products Part.

We start coding for Products part here

products

Here’s HTML

<section>

<div class="product">
<div class="container">
<div class="row">
<div class="col-md-12 col-sm-12 col-xs-12">
<h2>Feature Products</h2>
<p>Manufacturere of Pharmaceutical Machinery & Spares</p>
<div class="line2"></div>
</div>
</div>
<div class="row">
<div class="col-md-4 col-sm-4 col-xs-12">
<div class="box"><a href="eight-head-ampoule-filling-&-sealing-machine.html"> <img class="img-responsive" src="images/eight-head-ampoule-filling-sealing-machine.jpg" alt="Eight Head Ampoule Filling Sealing Machine"></a>
<h2><a href="eight-head-ampoule-filling-&-sealing-machine.html">Eight Head Ampoule Filling Sealing Machine</a> <span class="triangle-bottomright"></span> </h2>
</div>
</div>
<div class="col-md-4 col-sm-4 col-xs-12">
<div class="box"><a href="six-head-ampoule-filling-and-sealing-machine.html"> <img class="img-responsive" src="images/six-head-ampoule-filling-sealing-machine.jpg" alt=" Six Head Ampoule Filling Sealing Machine"></a>
<h2><a href="six-head-ampoule-filling-and-sealing-machine.html">Six Head Ampoule Filling Sealing Machine</a> <span class="triangle-bottomright"></span> </h2>
</div>
</div>
<div class="col-md-4 col-sm-4 col-xs-12">
<div class="box"><a href="four-head-ampoule-filling-sealing-machine.html"> <img class="img-responsive" src="images/four-head-ampoule-filling-sealing-machine.jpg" alt="Four Head Ampoule Filling Sealing Machine"></a>
<h2><a href="four-head-ampoule-filling-sealing-machine.html">Four Head Ampoule Filling Sealing Machine</a> <span class="triangle-bottomright"></span> </h2>
</div>
</div>
</div>
</div>
</div>
</section>

CSS

.product {width:100%; background-color:#f8f8f8;}

.product h2 {color:#414141;}
.product .line2 {width:30%; background-color:#194c79; height:2px; margin-bottom:20px; margin-top:20px;}
.product .box {border:1px solid #cecece; padding-top:20px; background-color:#FFFFFF; height:auto; width:100%; margin:10px 10px 40px 0; box-shadow: 19px 15px 5px 0px rgba(224,221,221,1);}
.product .box .img-responsive {text-align:center; vertical-align:middle; margin:0 auto;}
.product .box h2 {line-height:25px; font-size:19px; font-weight:600;  background-color:#194c79; color:#FFFFFF; padding:10px 12px 10px 12px; margin-bottom:0px;}
.product .box h2 a {color:#FFFFFF; text-decoration:none; line-height:30px;}
.product .box h2 a:hover {color:#99CCFF; text-decoration:none;}
.triangle-bottomright {width: 0; height: 0;  border-bottom: 100px solid #316a4a;  border-left: 100px solid transparent; float:right; margin:-50px -28px 30px 0px;}

————————————————————————————————————————–

Start with Bottom Part Products List.

We start coding for Products List Part here

list

Here’s HTML

<section>

<div class="spares">
<div class="container">
<div class="row">
<div class="col-md-12 col-sm-12 col-xs-12">
<h2>Our Products List</h2>
<p>Manufacturere of Pharmaceutical Machinery & Spares</p>
<div class="line3"></div>
</div>
<div class="col-md-4 col-sm-4 col-xs-12">
<ul class="list">
<li><a href="single-head-onion-skin-tube-filling-and-sealing-machine.html">Single Head Onion Skin Tube Filling and Sealing Machine</a></li>
<li><a href="single-head-closed-ampoule-filling-and-sealing-machine.html">Single Head Closed Ampoule Filling And Sealing Machine</a></li>
<li><a href="single-head-amoule-filling-sealing-machine.html">Automatic Single Head Ampoule Filling & Sealing Machine</a></li>
<li><a href="two-head-ampoule-filling-and-sealing-machine.html">Automatic Two Head Ampoule Filling And Sealing Machine</a></li>
</ul>
</div>
<div class="col-md-4 col-sm-4 col-xs-12">
<ul class="list">
<li><a href="four-head-onion-skin-tube-filling-and-sealing-machine.html">Four Head Onion Skin Tube Filling and Sealing Machine</a></li>
<li><a href="four-head-closed-ampoule-filling-and-sealing-machine.html">Four Head Closed Ampoule Filling and Sealing Machine</a></li>
<li><a href="four-head-ampoule-filling-sealing-machine.html">Automatic Four Head Ampoule Filling & Sealing Machine</a></li>
<li><a href="six-head-ampoule-filling-and-sealing-machine.html">Automatic Six Head Ampoule Filling And Sealing Machine</a></li>
</ul>
</div>
<div class="col-md-4 col-sm-4 col-xs-12">
<ul class="list">
<li><a href="six-head-closed-ampoule-filling-and-sealing-machine.html">Automatic Six Head Closed Ampoule Filling and Sealing Machine</a></li>
<li><a href="eight-head-ampoule-filling-&-sealing-machine.html">Automatic Eight Head Ampoule Filling & Sealing Machine</a></li>
<li><a href="horizontal-ampoule-sticker-labeling-machine.html">Automatic Horizontal Ampoule Sticker Labeling Machine</a></li>
<li><a href="ampoule-visual-inspection-machine.html">Automatic Ampoule Visual Inspection Machine</a></li>
</ul>
</div>
</div>
</div>
</div>
</section>

CSS

.spares {width:100%; background-color:#f7f7f7;}

.spares .line3 {width:30%; background-color:#194c79; height:2px; margin-bottom:20px; margin-top:20px;}
.spares ul .list {border:1px solid #e9e7e7; padding:10px 0px 10px 10px; margin-bottom:5px;}
.spares ul {padding-left:0px; margin-bottom:30px;}
.spares ul li a {text-decoration:none; color:#414141; }
.spares ul li  {list-style:outside none none; line-height:30px; border:1px solid #e9e7e7; padding: 5px 0 5px 30px; margin-bottom:10px;}
.spares li a:hover {color:#194c79;}
.spares ul li:before {content: "\f105"; /* FontAwesome Unicode */ font-family: FontAwesome; display: inline-block;  margin-left: -1.3em; /* same as padding-left set on li */ width: 1.3em; /* same as padding-left set on li */ color:#414141;  padding:0px 15px 0px 0px; }

————————————————————————————————————————–

Start with Footer Part.

footer

Here’s HTML

<section>

<div class="footer">
<div class="container">
<div class="row">
<div class="col-md-4 col-sm-4 col-xs-12">
<div class="logo2"><img class="img-responsive" src="images/footerlogo.png" alt="Ampoule Filling Machine"></div>
<p>Harsiddh Engineering Co. manufacturer of Pharmaceutical Machinery and Sparessuch as Eight Head Ampoule Filling Sealing Machine,Six Head Ampoule Filling & Sealing Machine, Four Head Ampoule Filling & Sealing Machine,</p>
<div class="social-icon"> <a href="https://www.facebook.com/ampoulefillingmachine" target="_blank"><i class="fa fa-facebook"></i></a> <a href=" https://twitter.com/ampoule_filling" target="_blank"><i class="fa fa-twitter"></i></a> <a href="https://www.pinterest.com/ampoulefilling " target="_blank"><i class="fa fa-pinterest"></i></a> <a href="https://www.youtube.com/channel/UCUvQWEsPH2u6-EY45SaHyvw" target="_blank"><i class="fa fa-youtube"></i></a></div>
</div>
<div class="col-md-4 col-sm-4 col-xs-12">
<h2>Contact Us</h2>
<ul>
<li>Harsiddh Engineering Co.</li>
<li>D-81, Zaveri Industrial Estate, Near Kathwada GIDC,</li>
<li>Kathwada Road,Kathwada,</li>
<li>Ahmedabad - 382430 , Gujarat, INDIA.</li>
<li>Phone : +91- 9825033692 , +91-79-65241112</li>
<li>E-mail : <a href="mailto:info@ampoulefillingmachine.net">info@ampoulefillingmachine.net</a></li>
</ul>
</div>
<div class="col-md-4 col-sm-4 col-xs-12">
<h2>Certification</h2>
<div class="iso"> <img class="img-responsive" src="images/iso-image.jpg" alt="ISO Registered"> </div>
<div class="iso"> <img class="img-responsive" src="images/certification-image.jpg" alt="Certification Image"> </div>
</div>
</div>
</div>
</div>
</section>
<div class="bottom">
<div class="container">
<div class="row">
<div class="col-md-7 col-sm-6 col-xs-12">
<ul class="menu2">
<li><a href="index.html">HOME</a></li>
<li><a href="products.html">PRODUCTS</a></li>
<li><a href="services.html">SERVICES</a></li>
<li><a href="inquiry.php">INQUIRY</a></li>
<li><a href="contact-us.html">CONTACT US</a></li>
</ul>
</div>
<div class="col-md-5 col-sm-6 col-xs-12">
<p>Copyright © 2016, Harsiddh Engineering Co. ( India) All Rights reserved.<br>
Website Design & Seo By :<a href="http://www.vainfotech.com/"> VA Infotech</a></p>
</div>
</div>
</div>
</div>

CSS

.footer {width:100%; background-color:#302f2f;}

.footer .logo2{margin:23px 0px 23px 0px;}
.footer p {color:#FFFFFF; text-align:justify;}
.footer .social-icon {color:#FFFFFF; font-size:30px; margin:10px 30px 20px 0px;}
.footer .social-icon a {height:20px; width:20px; margin:0px 20px 20px 0px; line-height:47px; vertical-align:middle; display:inline-block; color:#FFFFFF;}
.footer .social-icon a:hover {color:#eae8e8;}
.footer h2 {color:#FFFFFF;}
.footer ul {color:#FFFFFF; text-decoration:none; padding:14px 0px 0px 31px; margin:30px 0 0 -30px; line-height:28px;}
.footer ul li a {color:#FFFFFF; text-decoration:none; margin:0px 20px 0px 0px;}
.footer ul li {list-style:outside none none;}
.footer .iso {float:left; margin:34px 10px 0px 0px;}
.bottom {width:100%; background-color:#1c1b1b;}
.bottom .menu2 {list-style:outside none none; padding:30px 0px 20px 0px;}
.bottom ul li a {color:#FFFFFF; text-decoration:none; padding:0px 30px 0px 0px;}
.bottom li {display:inline;}
.bottom .menu2 a:hover{color:#CCCCCC;}
.bottom p {color:#FFFFFF; margin:15px 0px 0px 0px;}
.bottom a{text-decoration:none;}

PSD To HTML Conversion Tutorials

Once again we have gathered a very useful and helpful collection of detailed tutorial for PSD to HTML conversion. Today, every designers, web developers or blogger should know how to convert PSD files to HTML code. This technique is very important for them because with this technique they can easily convert their designs into active blogs or websites. And also this technique makes their work easy and save their valuable time too.

In this round up, we have collected some useful, free and professionally created tutorials on PSDs to HTML conversion only for you so that you can take help from this collection. So enjoy browsing through this collection and collect useful tutorials that will be helpful for you in your future projects. Do share with us what you feel about this compilation. Enjoy and have fun everyone!!

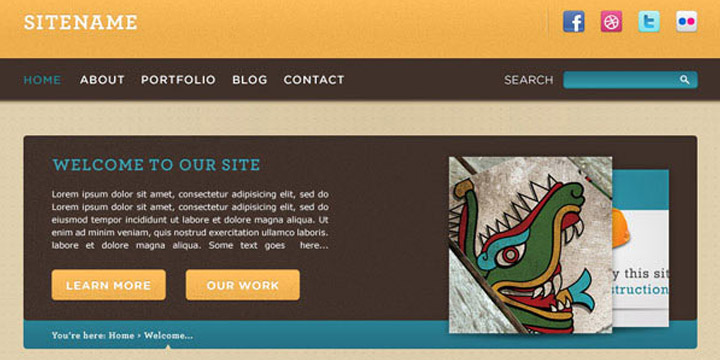
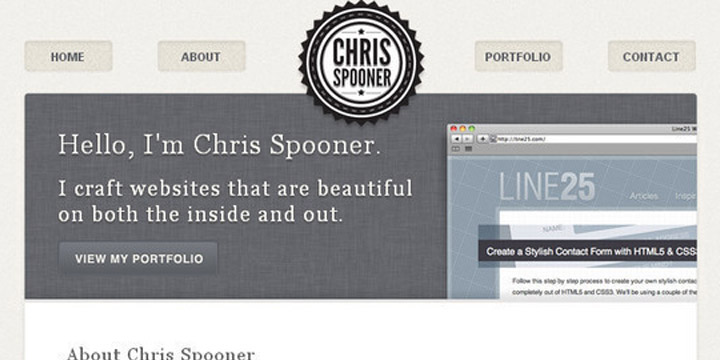
1. Coding a Clean Web 20 Style Web Design From Photoshop

PSD-To-HTML-Conversion-Tutorials-01

In this tutorial, you will learn how to convert your Photoshop designs into standards-compliant (X) HTML web design.

2. Elegant and Simple CSS3 Web Layout

PSD-To-HTML-Conversion-Tutorials-02

With this tutorial you can easily convert your PSD designs into simply elegant and fully functional CSS3 web layout without wasting any time. Enjoy!!!

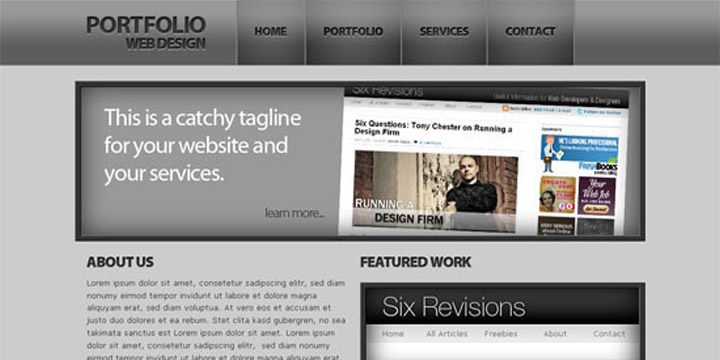
3. How to Code Up a Web Design From PSD to HTML

PSD-To-HTML-Conversion-Tutorials-03

In this tutorial you will learn how to code up a web design from PSD to HTML. You will see in this tutorial all codes are semantic and standards compliant.

4. Minimal and Modern Layout

PSD-To-HTML-Conversion-Tutorials-04

If you want to convert your beautiful Photoshop mockups into working HTML or CSS templates then you should see this tutorial.

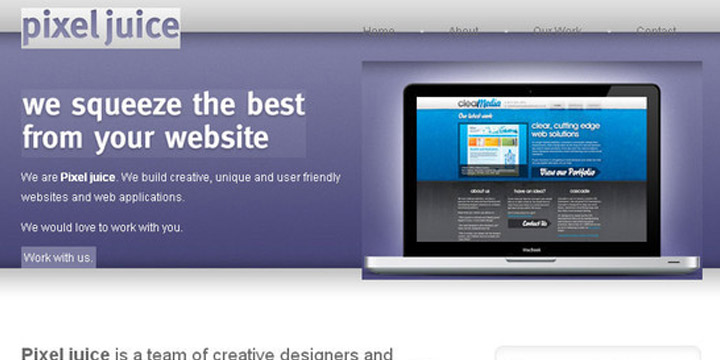
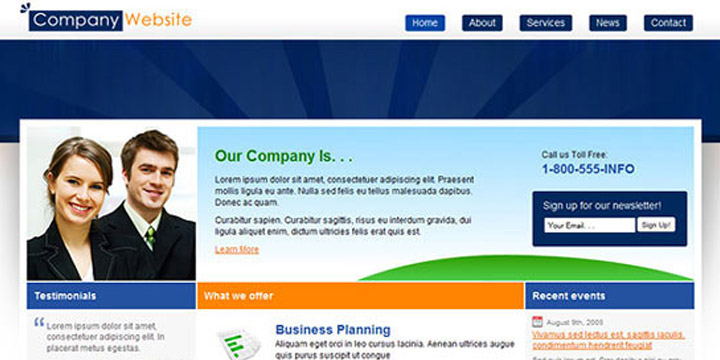
5. Code a Corporate Website from a Photoshop Design

PSD-To-HTML-Conversion-Tutorials-05

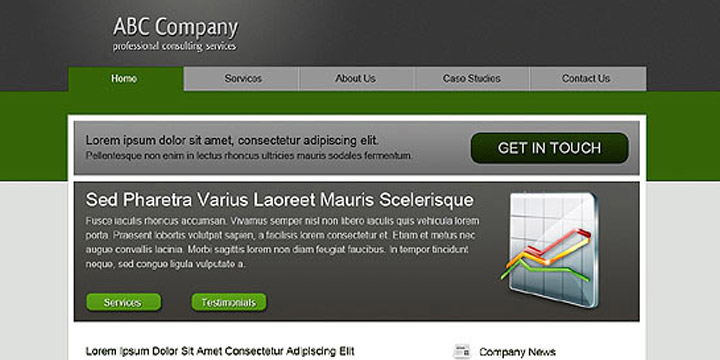
If you do not know the process of coding then this tutorial will teach you the process of coding to convert your designs into HTML and CSS.

6. Code an Awesome Minimal Design from PSD to XHTML & CSS

PSD-To-HTML-Conversion-Tutorials-06

This tutorial will teach you that how you can convert your PSD design into XHTML and CSS for creating an amazing and visually appealing minimal design.

7. Converting a Design From PSD to HTML

PSD-To-HTML-Conversion-Tutorials-07

In this tutorial we will learn how to convert a Design From PSD to HTML.

8. Sleek Coming Soon Page Design

PSD-To-HTML-Conversion-Tutorials-08

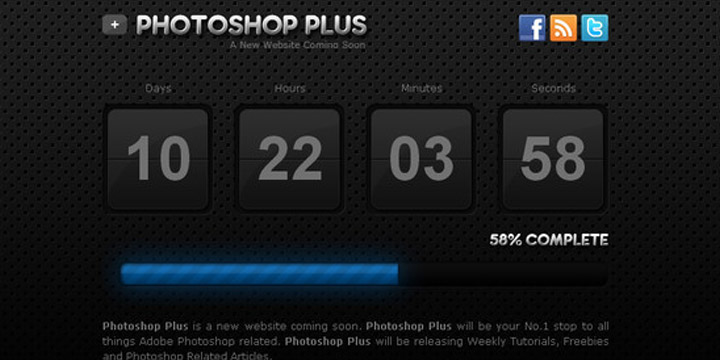
In this tutorial we will be talking you through the process of coding the PSD file into a working CSS template.

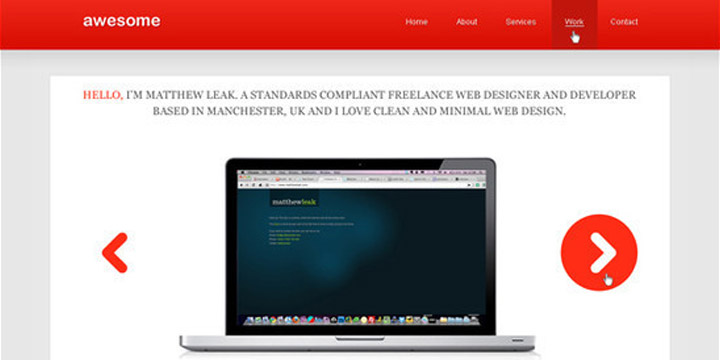
9. Design and Code a Slick Website From Scratch

PSD-To-HTML-Conversion-Tutorials-09

With this tutorial you can easily code your designs into a standards-compliant, cross-browser XHTML, CSS and JavaScript / jQuery layout.

10. Corporate WordPress Style Layout

PSD-To-HTML-Conversion-Tutorials-10

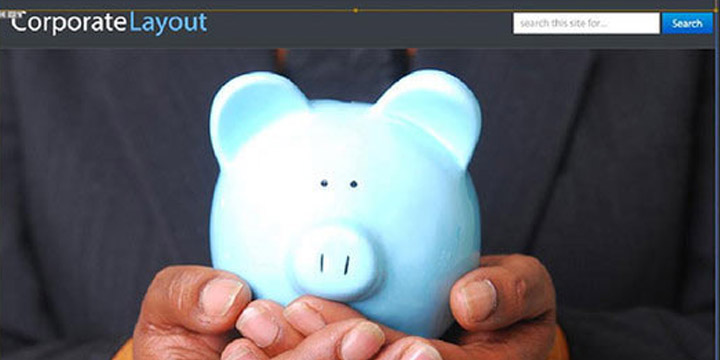
In this tutorial you will learn how to code the Corporate WordPress Style Layout into xhtml and css.

11. Encoding a Photoshop Mockup into XHTML & CSS

PSD-To-HTML-Conversion-Tutorials-11

This detailed tutorial will teach you how you can encode your Photoshop mockups into XHTML and CSS. In this tutorial you will see the working example that helps you.

12. Create a Website using UI Packs (PSD to HTML)

PSD-To-HTML-Conversion-Tutorials-12

In this tutorial we will code a PSD template using HTML, CSS and JavaScript.

13. How to Code a Grunge Web Design from Scratch

PSD-To-HTML-Conversion-Tutorials-13

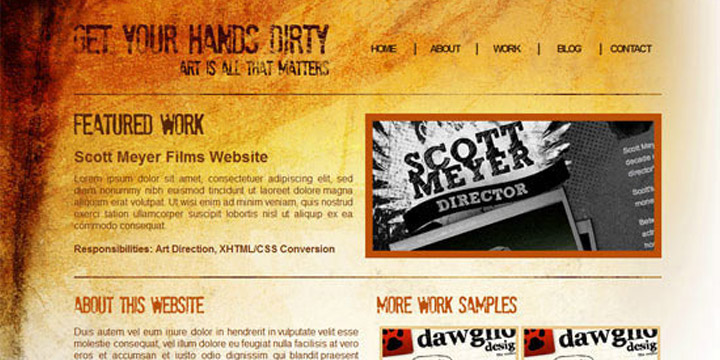
If you are searching how to code a Grunge web design from Scratch then this well detailed tutorial will definitely help you. With this tutorial you can easily code your grunge theme into working HTML and CSS template.

14. WaterColored Portfolio Coded

PSD-To-HTML-Conversion-Tutorials-14

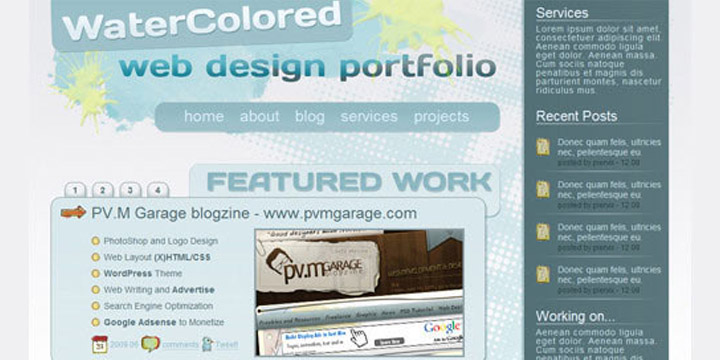
With this tutorial you can convert PSDs to a suitable and standards compliant XHTML and CSS template.

15. Code a Clean Business Website Design

PSD-To-HTML-Conversion-Tutorials-15

If you want to create a fresh and professional business website design by converting your PSDs into HTML conversion then this tutorial will help you in this purpose.

16. How to Create a Dark and Sleek Web Design from Photoshop

PSD-To-HTML-Conversion-Tutorials-16

In this web development tutorial, you will learn, step-by-step, how to create a beautiful dark and sleek web layout using standards-based HTML and CSS.

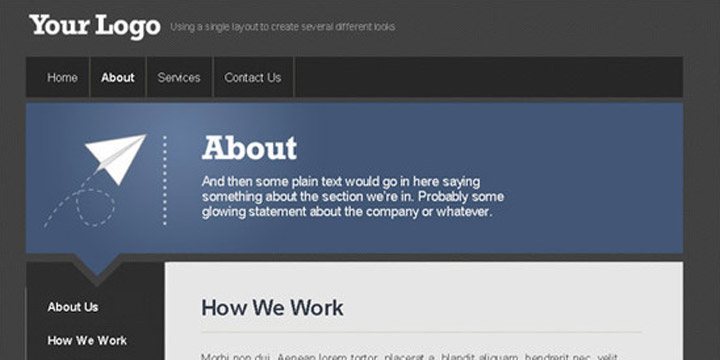
17. Coding Up a Web Design Concept into HTML & CSS

PSD-To-HTML-Conversion-Tutorials-17

With this tutorial you can easily convert your web design concept into HTML and CSS mockup completely along with clean and valid codes.

18. DesignSchool Coded

PSD-To-HTML-Conversion-Tutorials-18

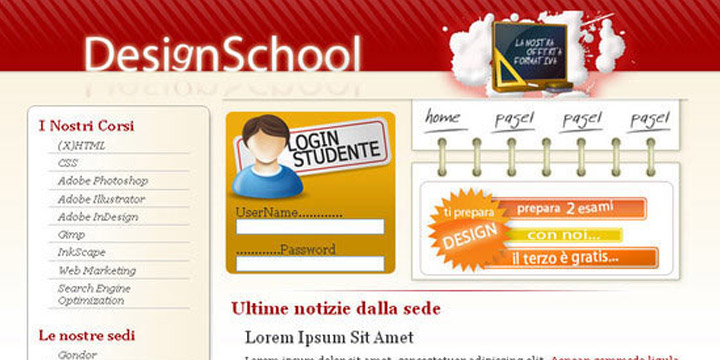
In this tutorial you will learn how to convert PSD file to HTML web pages.

19. Building a Set of Website Designs Step by Step

PSD-To-HTML-Conversion-Tutorials-19

If you want to convert your superb and wonderful Photoshop designs into HTML and also want to learn how to convert your PSD files into a complete functional WordPress theme then check out this well-detailed tutorial.

20. Build a Sleek Portfolio Site from Scratch

PSD-To-HTML-Conversion-Tutorials-20

If you use this tutorial, you can create awesome and sleek portfolio website by converting your PSD files into HTML and CSS.

21. Coding a Clean and Professional Web Design

PSD-To-HTML-Conversion-Tutorials-21

This is a detailed tutorial and this tutorial will teach you gradually how you can code for a clean and professional web design. In this tutorial you will see a layout is created in Photoshop then it is converted into a standards-compliant (X) HTML web design.

22. How to Convert a Photoshop Mockup to XHTML/CSS

PSD-To-HTML-Conversion-Tutorials-22

With this tutorial you can easily code up a graphical website layout because this tutorial will teach you the process of converting a Photoshop mockup to XHTML / CSS.

23. Design Lab TV Styled Layout

PSD-To-HTML-Conversion-Tutorials-23

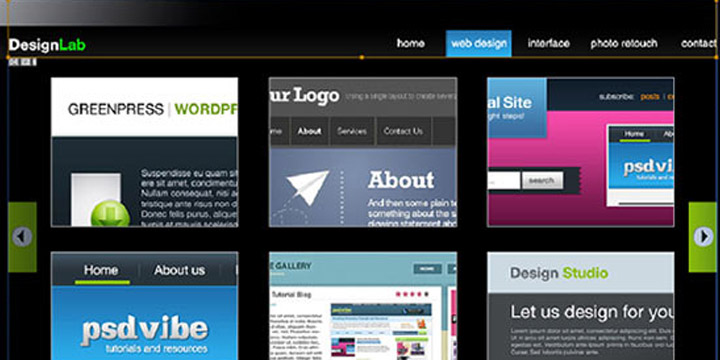
If you want a tutorial that will teach you how you can Design Lab TV Styled layout into XHTML and CSS then this tutorial is perfect for you check this out.

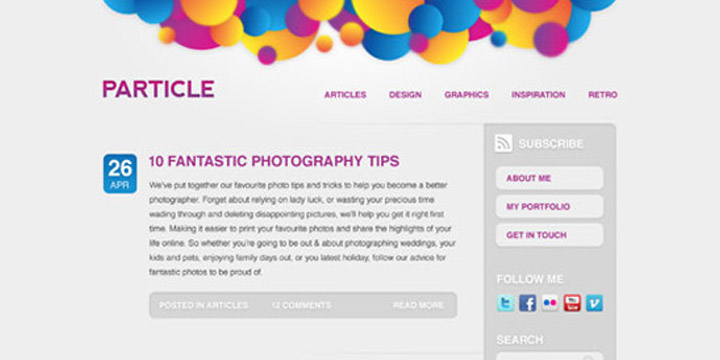
24. From PSD to CSS/HTML in Easy Steps

PSD-To-HTML-Conversion-Tutorials-24

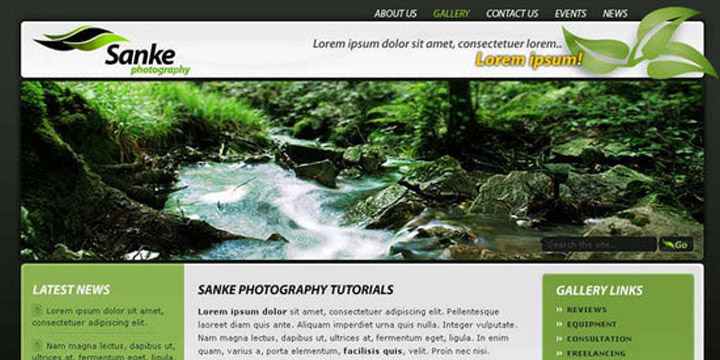
In this tutorial you will find that how a fully working Photography website is built by using XHTML and CSS. Because this tutorial will teach you how you can convert PSD files into HTML or CSS in easy steps.

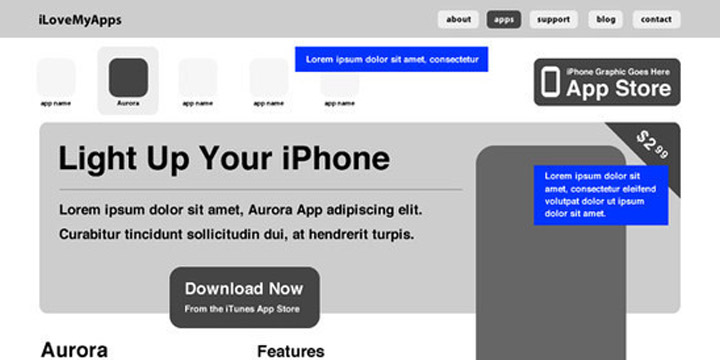
25. Design & Code a Cool iPhone App Website in HTML5

PSD-To-HTML-Conversion-Tutorials-25

With this tutorial, you can design and code a cool iPhone app website in HTML5, and visual styling with some CSS3 effects. Check out this tutorial.

26. Design and Code Your First Website in Easy to Understand Steps

PSD-To-HTML-Conversion-Tutorials-26

This tutorial is a treat for those people who are designing their first website. This tutorial will teach you in a very simple and easy way that how you can code and design your very first website. Enjoy!!!

27. Slicing and Coding a Sleek, Corporate PSD to HTML and CSS

PSD-To-HTML-Conversion-Tutorials-27

This is a well detailed tutorial that teaches you how you can build a professional web design for a corporate website in HTML and CSS code.

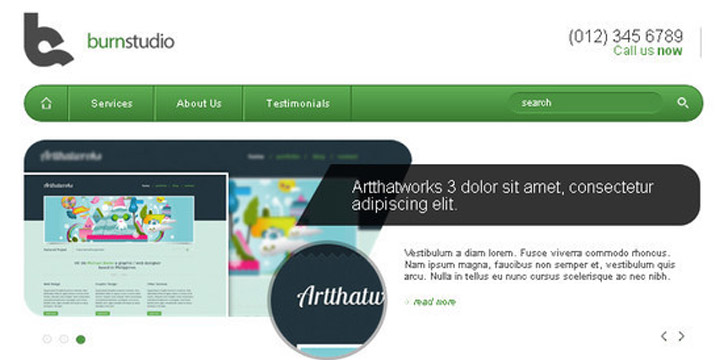
28. Convert Burnstudio from PSD to HTML

PSD-To-HTML-Conversion-Tutorials-28

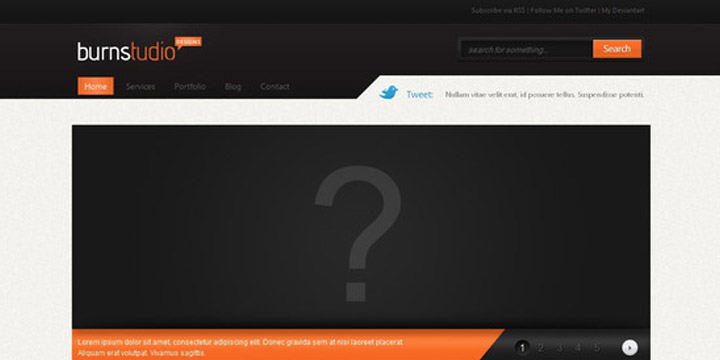
With this tutorial, you can convert BurnStudio from PSD to HTML. In this tutorial CSS framework, some CSS styles as well as JavaScript are used.

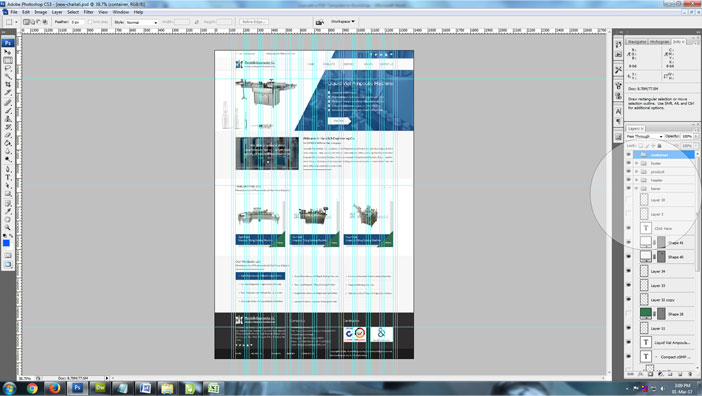
29. Convert Your Product Landing Page From PSD to HTML

PSD-To-HTML-Conversion-Tutorials-29

This tutorial will teach you that how you can convert your product landing page design (PSD format) into fully functional HTML. In this tutorial CSS framework, some CSS styles as well as JavaScript are used too.

30. Converting Dezign Folio From PSD to HTML

PSD-To-HTML-Conversion-Tutorials-30

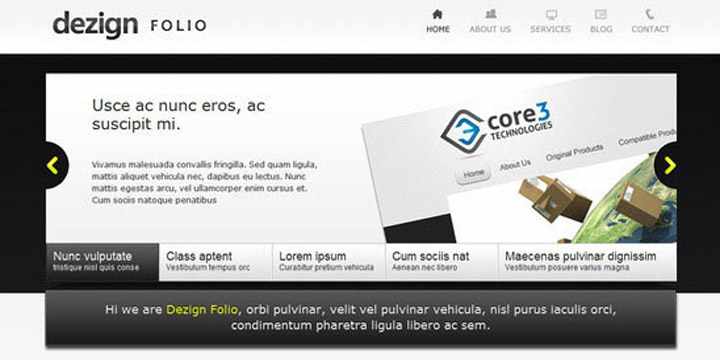
This is a detailed tutorial that will teach you gradually how to convert Dezign Folio from PSD to HTML. Again in this tutorial CSS framework, some CSS styles as well as JavaScript is used too.

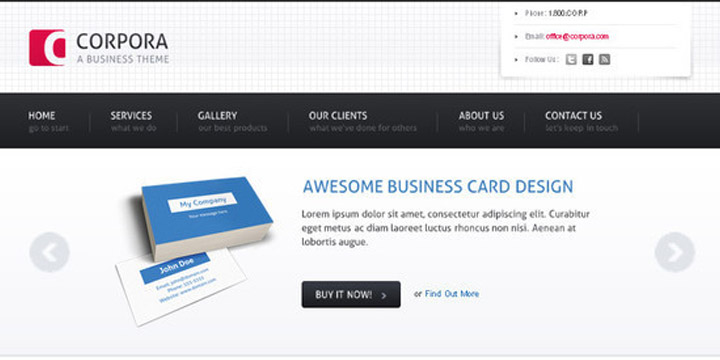
31. Convert Business PSD template to HTML/CSS tutorial

PSD-To-HTML-Conversion-Tutorials-31

With the use of this tutorial you can convert your business PSD template to HTML and CSS.

32. From PSD to HTML the Easy Way

PSD-To-HTML-Conversion-Tutorials-32

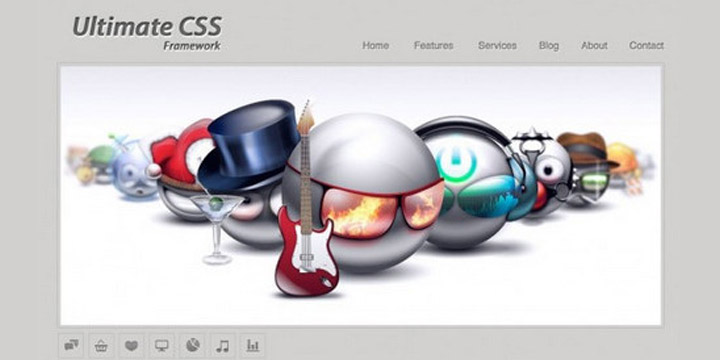
With this tutorial, you can learn how to convert PSD files to HTML in the easy and simply way. In this tutorial Ultimate CSS Framework is used.

33. How to Code a Clean Minimalist HTML CSS Website Layout

PSD-To-HTML-Conversion-Tutorials-33

With this tutorial, you will learn how to code a clean and minimalist HTML and CSS website layout.

34. Convert 1stDelicious Portfolio Layout From PSD to HTML

PSD-To-HTML-Conversion-Tutorials-34

If you want to convert 1stDelicious portfolio layouts from Photoshop PSD to HTML then use this tutorial. In this tutorial CSS framework, CSS Sprites and CSS3 are used to transform your PSD designs into a valid HTML/CSS and cross browser compatible layout.

35. Convert a 3D Portfolio Dark Layout From PSD to HTML

PSD-To-HTML-Conversion-Tutorials-35

This is another detailed tutorial that will teach you how you can convert a 3D portfolio dark layout by converting PSD files to HTML. This tutorial will show you the use of CSS framework, some CSS styles and JavaScript as well to create a valid HTML/CSS, cross browser compatible and dynamic layout.

36. Code a Modern Design Studio from PSD to HTML

PSD-To-HTML-Conversion-Tutorials-36

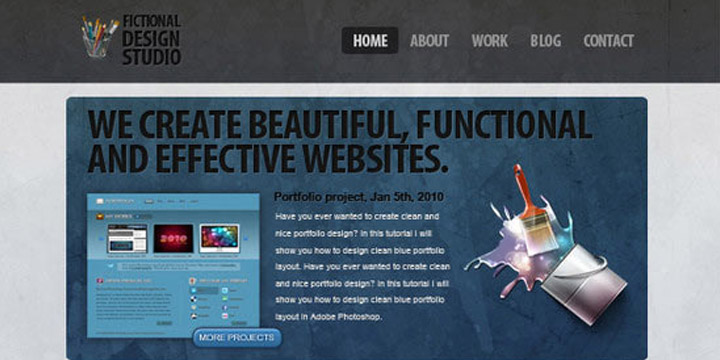
If you want to create a modern design studio in HTML then use this tutorial.

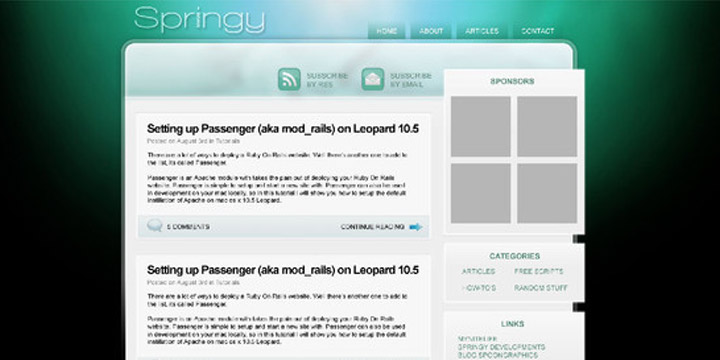
37. Simple & Cloudy Portfolio Layout

PSD-To-HTML-Conversion-Tutorials-37

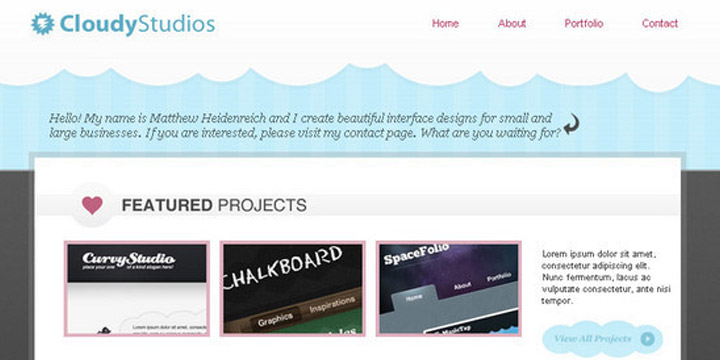
With this tutorial, you can easily generate simple and cloudy portfolio layout in XHTML.

38. Designing a Highly-professional website, from the sketch to the code

PSD-To-HTML-Conversion-Tutorials-38

With this tutorial, you will learn through the process of designing a highly-professional website from the sketch.

39. Create a Lovely Textured web Design from Photoshop to HTML/CSS

PSD-To-HTML-Conversion-Tutorials-39

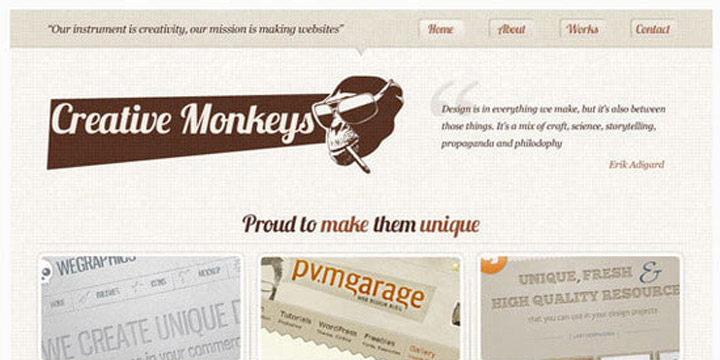
If you want to create a lovely and textured web design by converting Photoshop designs into HTML and CSS then use this tutorial.

40. Create a Comic Book Themed Web Design, Photoshop to HTML + CSS

PSD-To-HTML-Conversion-Tutorials-40

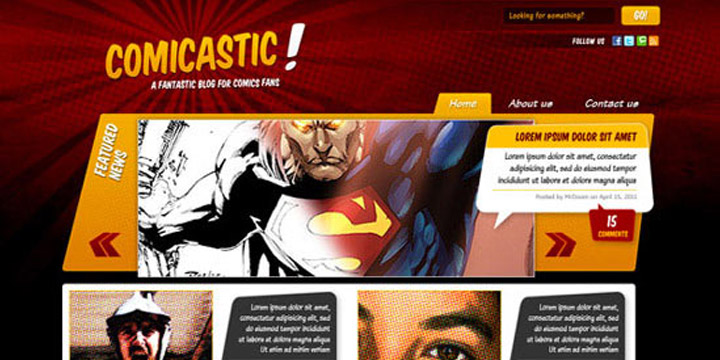
With this tutorial you will learn how to create a comic book themed web design by using your Photoshop PSD files and then converting them to HTML and CSS.

41. Convert a Warm, Cheerful Web Design to HTML and CSS

PSD-To-HTML-Conversion-Tutorials-41

With the use of this tutorial you can easily convert a warm and cheerful web design by converting PSD files to HTML and CSS. This tutorial is all about that.

42. Creating a Design and Converting it to HTML and CSS

PSD-To-HTML-Conversion-Tutorials-42

You can convert your PSD files into a nicely coded HTML and CSS website with the use of this detailed and easy tutorial.

43. Code a Photoshop File to a Working Website

PSD-To-HTML-Conversion-Tutorials-43

This tutorial will teach you how to code a Photoshop PSD file into an awesome and full functional working websites.

44. Learn How To Convert Artthatworks From PSD To HTML

PSD-To-HTML-Conversion-Tutorials-44

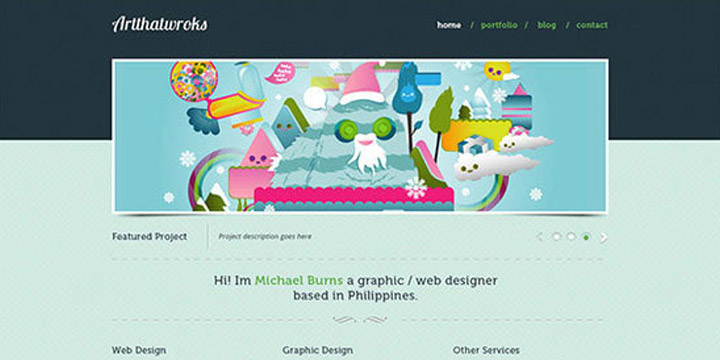
With this tutorial, you can easily convert Artthatworks from PSD to HTML using Skeleton Boilerplate and make it approachable with media queries.

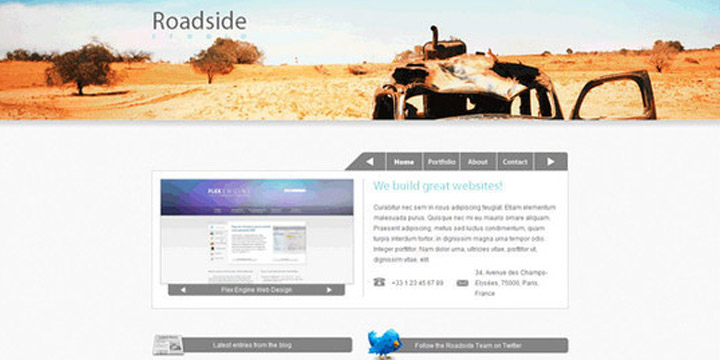
45. Coding a Band Website Created in Photoshop

PSD-To-HTML-Conversion-Tutorials-45

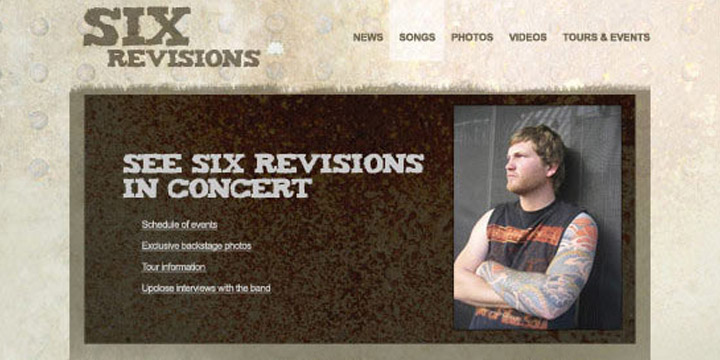
If you want to code a band website by taking a PSD file and after that you want to convert this file into a clean and working XHTML or CSS code then you should see this tutorial.

46. From Photoshop to HTML

PSD-To-HTML-Conversion-Tutorials-46

If you want to know how professionals convert their designs from Photoshop to CSS and HTML, then you should use this tutorial because this tutorial is all about that.

47. How to Convert a PSD to XHTML

PSD-To-HTML-Conversion-Tutorials-47

This tutorial will teach you in a simple and easy way that how you can convert a PSD to XHTML.

48. Converting a Clean Magazine-style PSD Template to HTML/CSS

PSD-To-HTML-Conversion-Tutorials-48

If you want to convert a clean magazine style PSD template to HTML or CSS layout, then check out this another well detailed tutorial that will teach you step by step.

49. How to Code a Stylish Portfolio Design in HTML/CSS

PSD-To-HTML-Conversion-Tutorials-49

With this tutorial, you can easily learn the process of coding up the design into a fully working HTML and CSS website.

50. Coding The PSD File Into CSS and HTML

PSD-To-HTML-Conversion-Tutorials-50

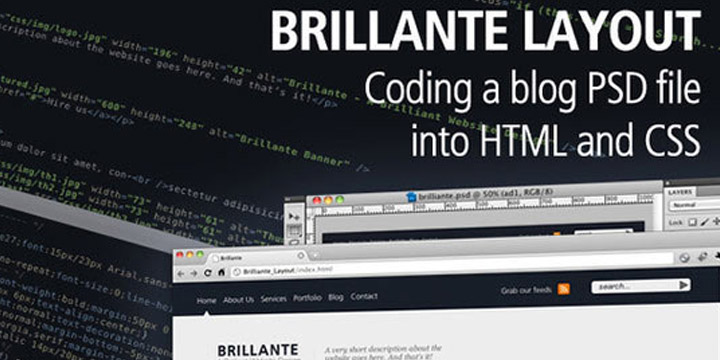
This tutorial teaches you the process of coding the PSD file into CSS and HTML so that you can easily generate a Brilliant blog design. In this tutorial you will see the PSD slicing, HTML/CSS coding, custom fonts embedding and some handy cool tips to improve your website performance.